Install the EPiServer Visual Studio Extension
Download and install the EPiServer Visual Studio extension as we’ll use it to set up our new EPiServer project:

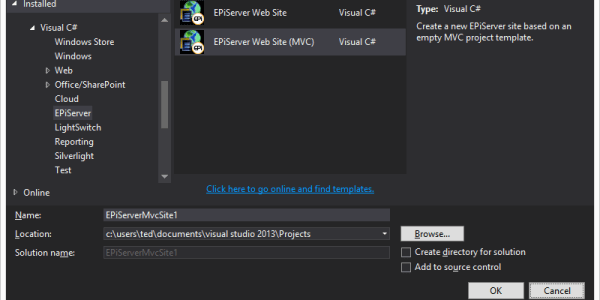
Create a new EPiServer project in Visual Studio
Start Visual Studio and add a new project by using the new EPiServer Web Site project template, either for WebForms or MVC:

This will set up a basic project structure and add NuGet packages for the EPiServer dependencies:

Start your new EPiServer website
Your EPiServer website is now ready to be started. Hit F5 in Visual Studio to start it on IIS Express. You’ll be able to log in using your Windows credentials through http://localhost:xxxxx/episerver:

Making use of EPiServer project item templates
In addition to the project template, the EPiServer Visual Studio extension also comes with a set of item templates. As an example, let’s add a media content type to enable us to upload images to our site:

Select the EPiServer category and select Media Type:

This will give us a file with some sample code, and some nifty attributes including an automatically generated GUID:

Based on this sample code we can easily define our own content type, such as this basic one for images:

Where is the database?
If you click Show All Files in Visual Studio and look in the App_Data folder you’ll see an .mdf database file:

If you have a look at the <connectionStrings> element in Web.config you’ll notice that the website is set up to attach this database file using LocalDB:

Move the database to SQL Server (optional)
If you want to use a standard SQL Server for your EPiServer database you can simply copy the .mdf file to your server and attach it through Management Studio:


Once you’ve attached the .mdf file you need to update your <connectionStrings> element in Web.config.
Note: if you’re moving to an earlier version of SQL Server you may need to downgrade the database by scripting it (don’t forget to script both schema and data if you do).